CNC prototyping in aluminum can present some considerable benefits.
Stepping up from easier materials can open up new applications to a wider variety of industries. Being one of the most common materials in CNC machining, aluminum is an ideal material for prototyping, and bringing the capability to machine in-house is certainly worth considering. Depending on the industries your operation serves, and the parts they need, it may even be a necessity.
Diving into it, there’s a dizzying amount of info to learn about aluminum. In order to get an easy, complete picture of what CNC aluminum prototyping might mean for you, follow along for our guidelines and tips for CNC aluminum prototyping.
What Types of Products Are Machined in Aluminum?
A whole host of products across a variety of industries are machined in aluminum.
While there are plenty of vertical markets that machine aluminum to manufacture specific products, one of the most prevalent is the electronics industry. Products range from industrial control enclosures, heat sinks and frames, laptop or cellphone bodies, etc. Even seemingly minor components, like volume buttons, are often made from aluminum to lend the product a more high-end feel over plastic.
Mold makers also depend on aluminum prototypes. When the request is small and the lifetime of the mold doesn’t matter, a lot of time can be saved making an aluminum mold compared to a hardened steel mold. Aluminum can also be used for carbon fiber or thermal forming molds, as opposed to the costly process of building an injection mold.
The aerospace and defense industries also source parts machined in aluminum, like enclosures for radar boards or structural components. In addition, the automotive sector relies on aluminum machining for the high-volume production of car parts like panels, interior trim, and hardware.
That only begins to scratch the surface of what aluminum parts are out in the world. With so many types of products machined in aluminum, it’s easy to see the upside of bringing CNC aluminum prototyping in-house.
What Types of Aluminum Are Used for Prototyping?
CNC aluminum prototyping is not a one-size-fits-all proposition. While several industries and R&D labs depend on aluminum prototyping to manufacture critical parts for specific products, it’s important to evaluate the best type of aluminum for the job.
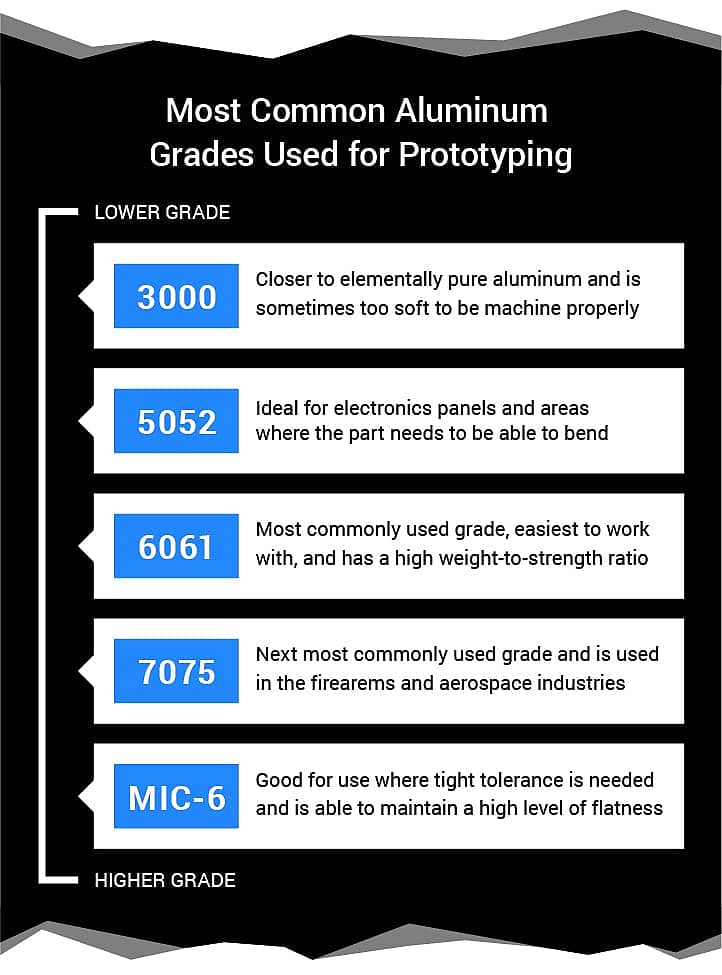
Known to be the most widely used grade of aluminum in the US, 6061 is popular for prototype or production needs.
Why?
Besides being easy to work with when machining or welding, 6061 aluminum is an ideal material to fabricate with. It can be forged or extruded, has a high strength-to-weight ratio, is widely available commercially, and is reasonably priced. For these reasons, many industries prefer 6061 aluminum for a wide variety of applications.
If your prototype requires aluminum that is structurally stiffer and harder, stepping up to 7075 aluminum might be necessary. Not surprisingly, this stronger aluminum is preferred for manufacturing firearms and aerospace components. This is also because, despite its added strength, 7075 is still lightweight, on par with 6061.
While these two grades are arguably the most common, 6061 is used more frequently than 7075. Fortunately, both grades mill exceptionally well with DATRON’s machines.
Lesser grades, like 5052, share some similarities with 6061 but are softer. This makes them ideal for electronics panels, specifically front panel work where the part may need bending after machining.
There are even lower grades, like 3000 series aluminum. 3000 is closer to elementally pure aluminum, which means it is very soft and gummy. Subsequently, it is far more challenging to mill with a typical CNC machine. However, milling 3000 series aluminum on a DATRON can yield superior results. With cutting tools and high-speed spindles designed to work with these kinds of materials, it can make the task significantly easier.
Another common aluminum grade is MIC-6, designed specifically for use where tight tolerance is required for flatness. Often, this is referred to as a tooling plate, ideal for when a situation requires a fixture plate made from aluminum that you don’t want to mill or grind flat, and worry about warping (more on that later). MIC-6 has the right properties for maintaining a high level of flatness.
Although many different aluminum series are available (and all uniquely necessary), you will see the overall preference fall in favor of 6061 for CNC machining.
Understanding the CNC Aluminum Prototyping Process
In order to appreciate the process of CNC aluminum prototyping, it’s helpful to walk through the procedure in a step-by-step format. Let’s start with the initial CAD/CAM process and work towards the finished part. Here are our top tips:
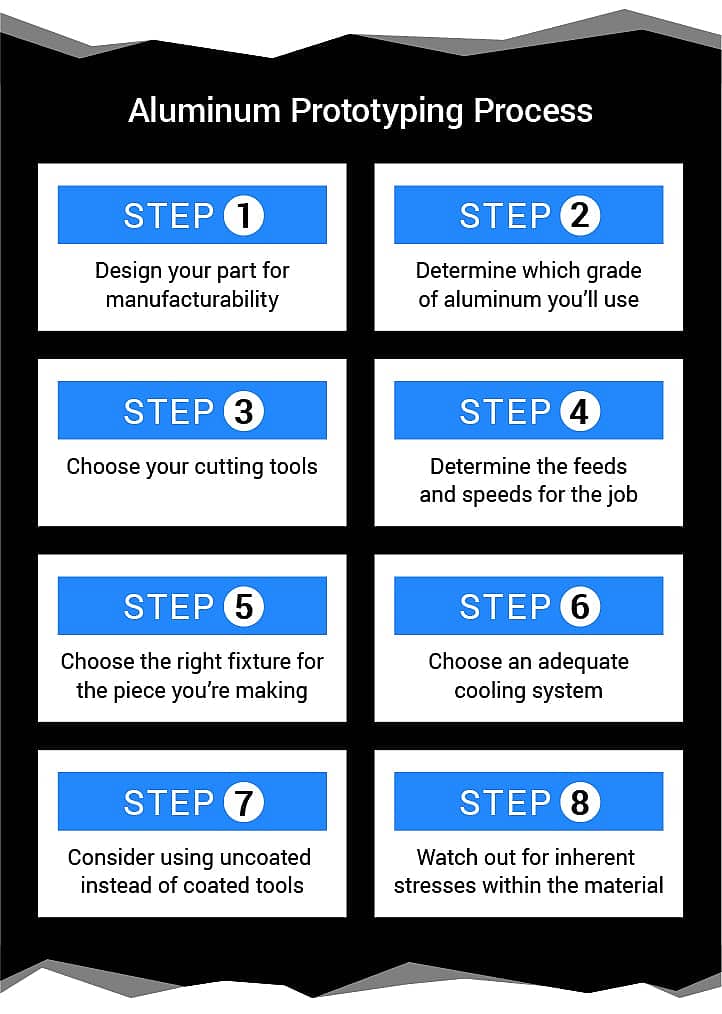
Step One
Design your part for manufacturability. It may seem obvious, but it’s all too common that a part is designed with only engineering or aesthetic considerations in mind. Make sure you don’t have features that are too deep, tolerances that are too tight, or features that are impossible to manufacture. Remember, you can’t cut a square inside a corner with a round tool!
Step Two
Determine which grade of aluminum you’ll be working with. Study your options and determine which grade fits your needs best. Utilize finite element analysis (FEA) software (like Autodesk Fusion 360) for pieces that endure high forces. Choosing your material will impact every decision going forward.
Step Three
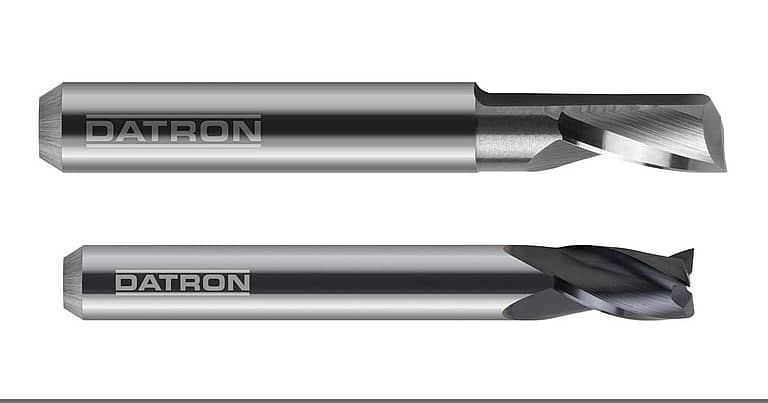
With the aluminum grade locked down, you can start to choose your cutting tools. Always choose the shortest tool available to accomplish the job. Using a longer tool you have on hand may seem more convenient than ordering a shorter one, but you will regret the decision when your finished part is covered in chatter marks – a telltale sign of tool deflection.
Also, consider your CNC machine configuration before making your tool decision. A typical, low RPM machine will benefit from higher flute count tools, but will in turn suffer from low efficiency and higher cutting forces. With a high RPM CNC machine, like a DATRON, a lower flute count tool (single flute, ideally) becomes a good choice for reducing cutting forces and allowing for excellent chip evacuation.
Step Four
With your arsenal of tools chosen, it’s time to talk feeds and speeds. For the unfamiliar, understanding feeds and speeds can be a daunting task.
Run a tool too slow: risk recutting chips and gumming up your tool into oblivion. Run a tool too fast: best case, break your end mill in half, worst case, overload your spindle.
Luckily, there are great resources available for beginners. Tool manufacturers supply feed and speed guides to get you on the right track. Services like ProvenCut supply loads of information based on the machine you’re using, which makes setting your feeds and speeds a breeze. DATRON even provides a comprehensive cutting guide that supplies information based not only on what feature you’re making, but what machine configuration you have.
Step Five
Choose the right fixture for the piece you’re making. For example, a vacuum table is perfect for large sheet material. Smaller or odd-shaped parts might need a pneumatic or mechanical vise. Complex, multi-sided parts may be best suited for a 4th or 5th axis.
Step Six
Choosing the right tools is important for chip evacuation, but using an adequate cooling system may be even more critical. With aluminum, atomized evaporative coolant is a great, clean option, but flood coolant, mist oil, or air blast is also acceptable. No matter which is used, make sure the chip ejects from the cut area as quickly as possible.
Poor chip evacuation is the most common cause of premature tool wear and breakage, so it’s important to tackle it up front.
Step Seven
One last tip on tools: When milling aluminum, consider uncoated tools. Using coated tools may seem like a no-brainer, but take note: Coatings add a thin layer of material over a sharp cutting edge, thus rounding it over. This may work fine for harder materials, but when cutting softer grades of aluminum, you run the risk of “galling”.
Galling is evident when aluminum builds up on the rounded edge because the tool is not sharp enough. It leaves a distinct smearing of aluminum at the cutting edge. This can lead to accelerated tool wear and poor milling results. The sharper the tool, the lower the cutting forces and frictional losses. This yields a more efficient use of the spindle’s available horsepower, which leads to a longer tool life, faster cycle times, and better looking parts.
Step Eight
Watch out for inherent stresses within the material. Different types of aluminum come with their own stresses in the material, owing to the processes used to manufacture it. For instance, extruded 6061 aluminum suffers higher internal stresses compared to MIC-6, which is cast.
This matters when it comes to process reliability and holding finished tolerances. Cutting into stressed material can result in warping, commonly referred to as “bow” or “potato chipping”. When milling one side of a stressed material, the internal forces become uneven, causing it to twist. Choosing your tools, material, workholding, and strategies wisely will help to mitigate these stresses.
Between our brief overview of the prototyping process and the tips we’ve included to support each step, you’re hopefully feeling more confident about the prospect of bringing CNC aluminum prototyping in-house. Of course, we’re always here to answer any questions and provide customized guidance when you’re ready to move forward.
Benefits of CNC Aluminum Prototyping In-house
Choosing to integrate CNC aluminum prototyping in-house provides several key benefits that far outpace the speed and save on costs typically incurred by outsourcing.
To start, you introduce the ability to rework a part on short notice; in fact, you may be able to avoid making a whole new part entirely.
Using the electronics industry as an example, consider the case of outsourcing an electronics housing. After a three-week wait time, you receive it made just as you specified with your design.
But, of course, your design team needs adjustments made to the tolerances on a particular feature, and the electronics engineers need a pocket added for a new microchip. In order to make this adjustment, you would obviously need to send the part out again to be reworked. Depending on lead time, you could be looking at another three-week turnaround, minimum. Do you have that kind of time?
Now, imagine if you had CNC aluminum prototyping in-house. You could simply register off a feature using the machine probe, update your toolpaths to the newest model, and resolve the request in-house, at a moment’s notice. Ultimately, you might avoid creating a new part entirely since aluminum is very easy to rework.
Cost savings and flexibility are both central to DATRON’s machines.
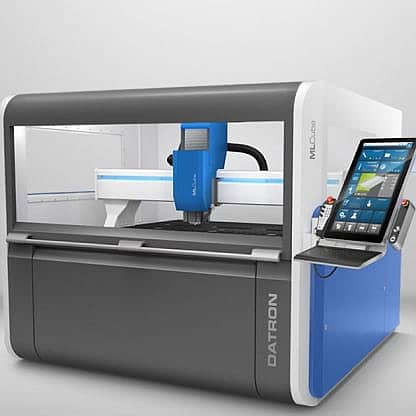
“The flexibility to produce one-off custom aluminum panels comes from the speed of the DATRON machine and the quick setup provided by vacuum table workholding.” – Lead Machinist Ilya Pasumanskiy, DataPro
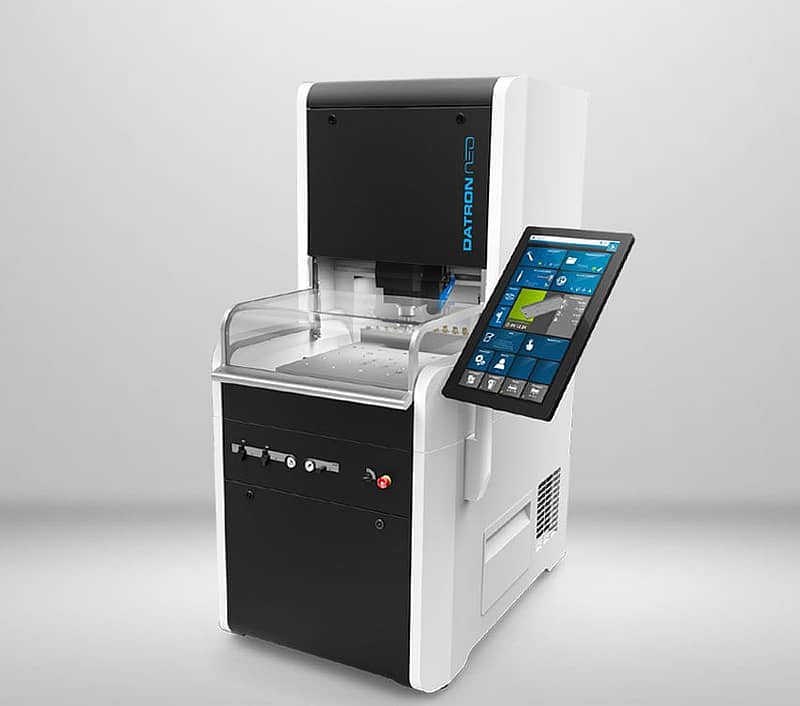
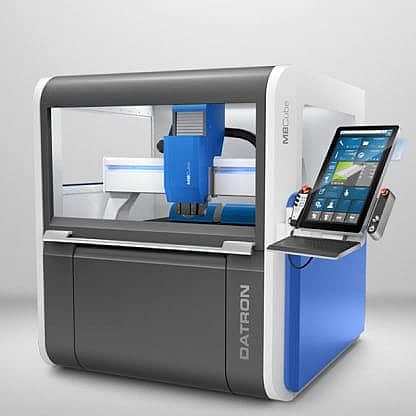
When you bring CNC aluminum prototyping in-house, these benefits are made more apparent by the fact that DATRON machines are purposefully built around their ability to machine aluminum. Provided that the parts are the right specifications with respect to size and shape, DATRON’s machines — just like our cutting tool line — are superior for CNC aluminum prototyping.
We hope our CNC aluminum prototyping quick guide provides you with the information you need to consider moving the process in-house. If you have any questions about bringing prototyping in-house with a DATRON, then contact our team.