Simplify Your Workpiece Setup with DATRON’s Integrated Probe and Smart Control
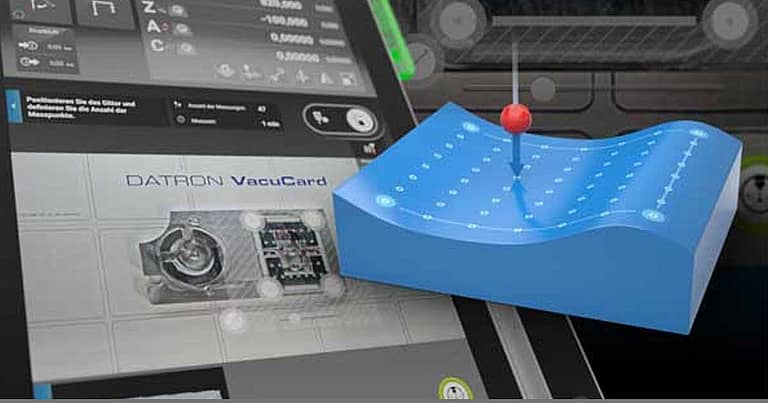
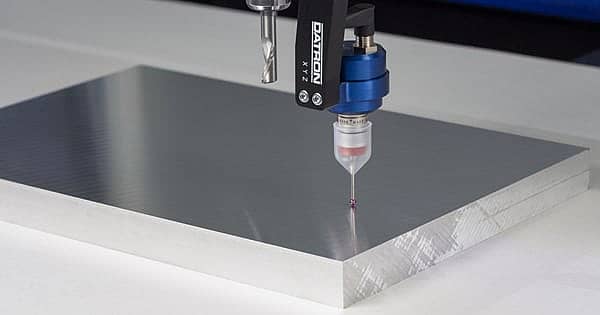
Why would an integrated probe and smart CNC control make a world of difference to manufacturers and machinists? Because in the real world, material blanks are not perfectly flat or consistently uniform. That makes it challenging to meet tight tolerances if each stock has slight variations from the other. A touch probe solves that problem by taking measurements across the material’s surface and relays that data to the machine, so the control adjusts the milling program to maintain an even depth of cut.
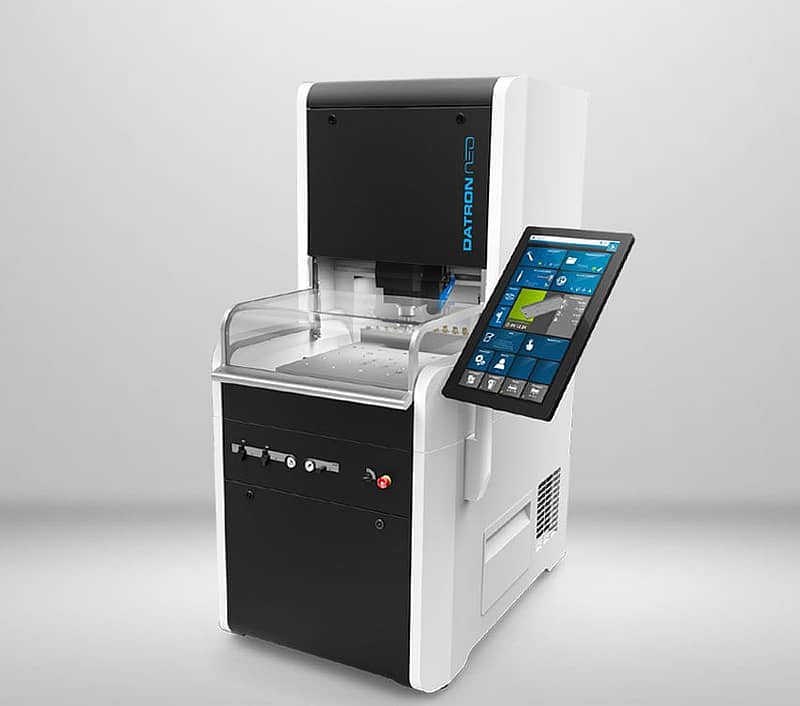
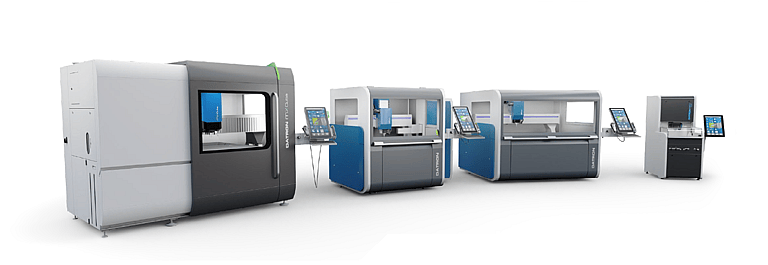
It’s not just flat stock either, a probe can also help with rounded stock. A 3D integrated probe measures the surface, finds reference edges, and creates a height profile. DATRON CNC milling machines are outfitted with a touch probe and dynamic CNC control, so you can stop wasting time and materials on scrapped parts and get accurate, consistent results.
There’s more a probe can do, though.
What Can A Touch Probe Do For You?
- Part and workholding location.
- Part identification for batch production.
- On-the-fly program adjustments.
- Simpler job setup.
- Consistent depth of cut.
- In-process checks.
1. Fast Job Setup and Alignment
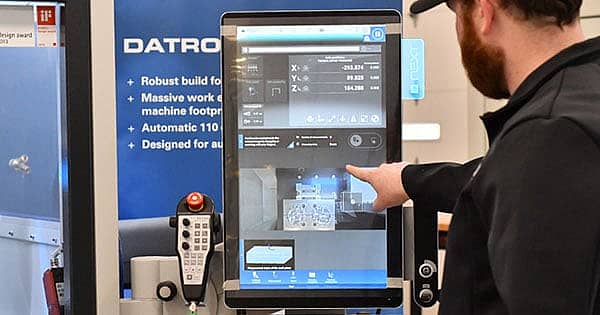
Workpiece alignment is crucial but having to square a part by manually aligning it with your machine axes is tedious. Manually trying to ensure a part’s exact position and orientation are repeatable for each setup is both tedious and difficult. A touch probe offers a faster and more accurate way to set up and align your workpiece and workholding.
DATRON integrated probes automatically probe for rotation, eliminating the need to square your workholding. A 3D probe enables material or workholding variations in X, Y, and Z to be compensated dynamically. If a part is loaded crooked, the DATRON next control adjusts the program according to the probe’s data. Secondary setups and operations are faster and your parts come out right every time.
2. Automate Finding Part Zero
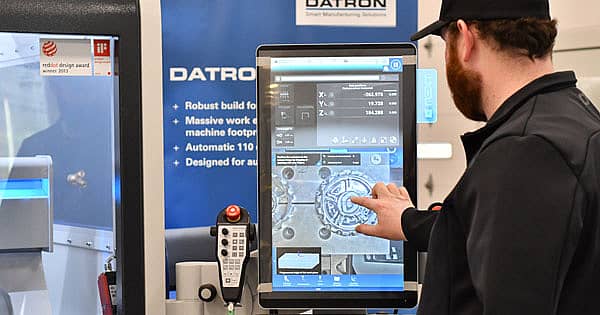
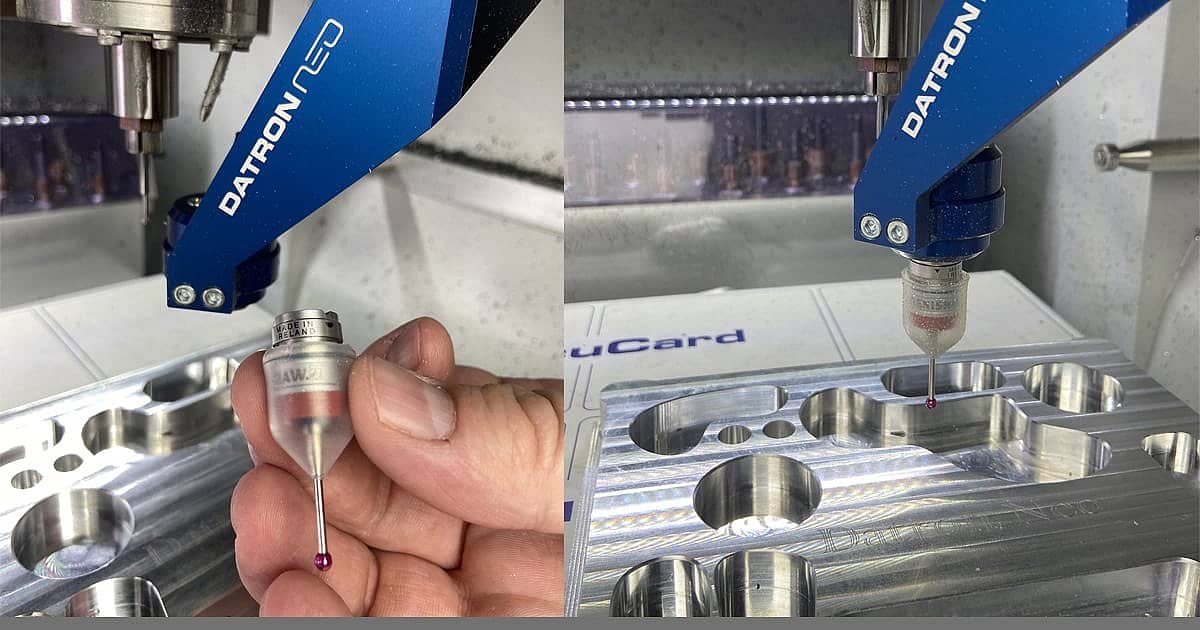
Using a touch probe to find the Z-height and XY edge position of your workpiece is quick and precise; a huge improvement over using an edge finder or touching off with a spinning tool. You can even automate the process of finding Part Zero. You also have the option to use an XYZ probe for pre-set positions, like vices with known positions. Just run a routine with the probe to find the exact position of your stock, so you can enter the offset adjustments in your program. A DATRON probe also finds features like the center of holes and bosses. This level of accuracy avoids wasted stock because the machined features are positioned correctly.
CNC probes can also be programmed for part identification. The probe takes measurements to see which blank is set up, and the control identifies which milling program to run. Then, the next control© alerts you if the wrong part was loaded for a program based on the probe’s data, again helping you avoid scrapped parts. It’s a valuable time-saver for manufacturers making a variety of similar parts.
3. Check Your Part Quality
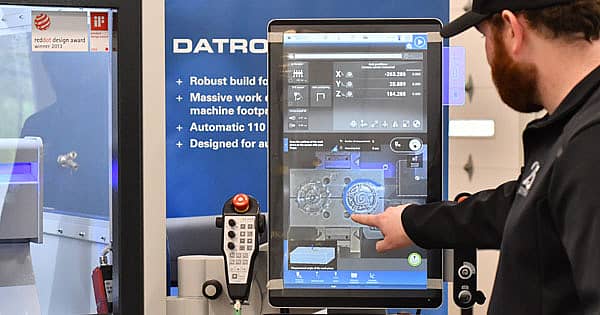
Part quality can be further ensured by using a CNC probe to monitor the size and position of machined features during the milling process. Guided by the input data, the control software knows if cutter compensation is needed or if the work coordinates need adjusting.
You can also program the probe to monitor the job and alert the machine operator if offsets need to be changed. In-process checks are easy with a probe because it can test if the features are within spec without taking down your workholding.
4. Draw, Swipe, and Probe
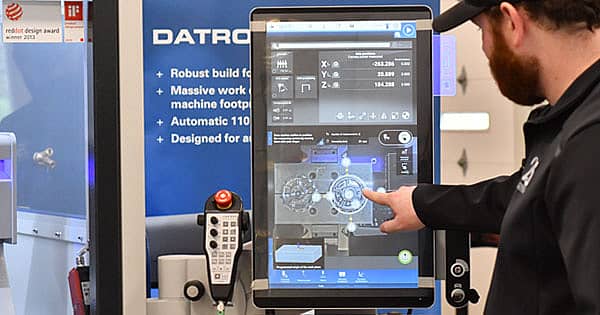
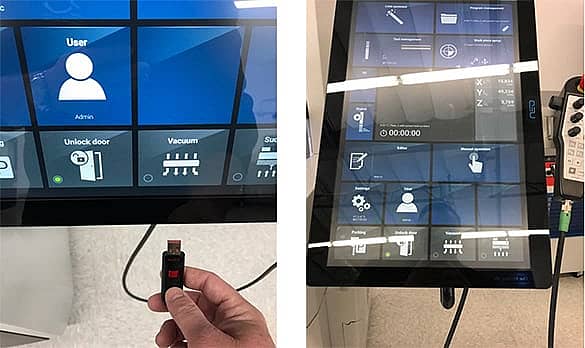
Say goodbye to inputting numbers manually. With the touchscreen-driven DATRON next© control, the machine’s integrated camera (mounted on the Z-axis) gives a real-time view of your part and machine bed. Working on a touchscreen means you simply drag the camera over and draw around the material with your finger. The control plots the probe points for you and lets you adjust the dimensions. Hit the “Probe” button, and the DATRON XYZ probe does its thing. You can measure two points along an edge, a corner, inside a circle, Z-height, and more.
It’s easy to see just how much a probe can improve your workflow. Whether you need to find and measure the base position of a part, or set and modify workpiece coordinates, a probe helps update your work offsets. These uses all lead to increased productivity, reduced setup times, and achieving accurate, consistent results. If you want to see the dream team of DATRON’s next control software and integrated probe in action, schedule a demo with us.

